Setup Jenkins for Continuous Integration and Continuous Delivery of Android Apps on Ubuntu

In this Article, our Jenkins tutorial will explain you in detail to how can we set up an Android app in Jenkins using continuous integration tools and continuous delivery tools.
Jenkins Android Apps Setup Prerequisites:
To begin with the setup, it is important that you’ll need the necessarily following steps to move to the next phase:
1. Required 64 bit Linux OS.
2. Java must be installed on your system.
7. Git must be installed on your system.
3. You need to have an account of GIT.
4. Jenkins must be installed on your system.
5. Android SDK tools must be installed on your system.
6. You need to set android SDK tools path.
7. Set all the necessary setting in Jenkins. (If you haven’t already installed Jenkins, you can follow our blog How to install Jenkins on Ubuntu)
8. You need to configure Android SDK tool path in your Jenkins setting
Now, after completing the setup steps, you’ll need to configure Android SDK tool path in your Jenkins setting to pull, compile and run android projects.
8.1 Enter Jenkins URL in the browser. The Jenkins login page will open
http://localhost:8080/

8.2 Enter your valid credentials to login in Jenkins.
Username: Your Jenkins account username
Password: Your Jenkins account password
8.3 If valid credentials are entered then Jenkins dashboard will display.

8.4 Click on Manage Jenkins
8.5 Click on configure system

8.6 Global properties:
Environment variables(You have to set Android SDK’s path):
- Name: ANDROID_HOME
- Value: /home/shekhar/sdk-tools-linux-3859397

9. Jenkinsfile must be added in your Git repository.
What is Jenkinsfile?
Jenkinsfile is nothing but workflow of your Jenkins project. Jenkinsfile consists of a script that defines continuous integration pipeline logic with steps to build, test and deploy of the project.
Here is the Sample syntax of Jenkinsfile:
pipeline {
agent {
label “master”
}
stages {
Build stage{
Build steps {
//Specify branch name
//Steps to build APK of a given project i.e. Debug, Release, all, etc.
}
Build status {
//Build generation is passed or failed
}
}
Upload stage {
//Upload generated build automatically on the server
Upload steps {
//Steps to upload generated build on the server
}
Upload status {
//Build upload status i.e. Build upload is successfully passed or failed
}
}
Email stage {
//Send generated APK and log automatically via mail
Email steps {
//Steps to send email
//Email id of recipients
}
Email status {
//Email sending status i.e.Email is successfully sent or not
}
}
}
}
Steps to setup android project in Jenkins:
Now, to add new android project follow the below steps:
1. Click on New Item
2. Enter the project name in the given text box

3. Select Multibranch Pipeline as the project type.

4. Click on Ok button
5. Then you need to configure some settings for your android project.
General
- Name: Your project name will be displayed here
- Display name: The optional display name is shown for the project throughout the Jenkins web GUI(Optional)
- Description: Description of the project. (Optional)

Branch Sources
Add source: Git (Because we have used Git repository as source control for our project)
Git
- Project Repository: Enter the Git repository URL of the project
- Credentials:
- Click on Add button
- Enter your Git username
- Enter your Git password
- Click on add button
- Once your credentials are saved then for next project you can also select credentials from the drop-down.
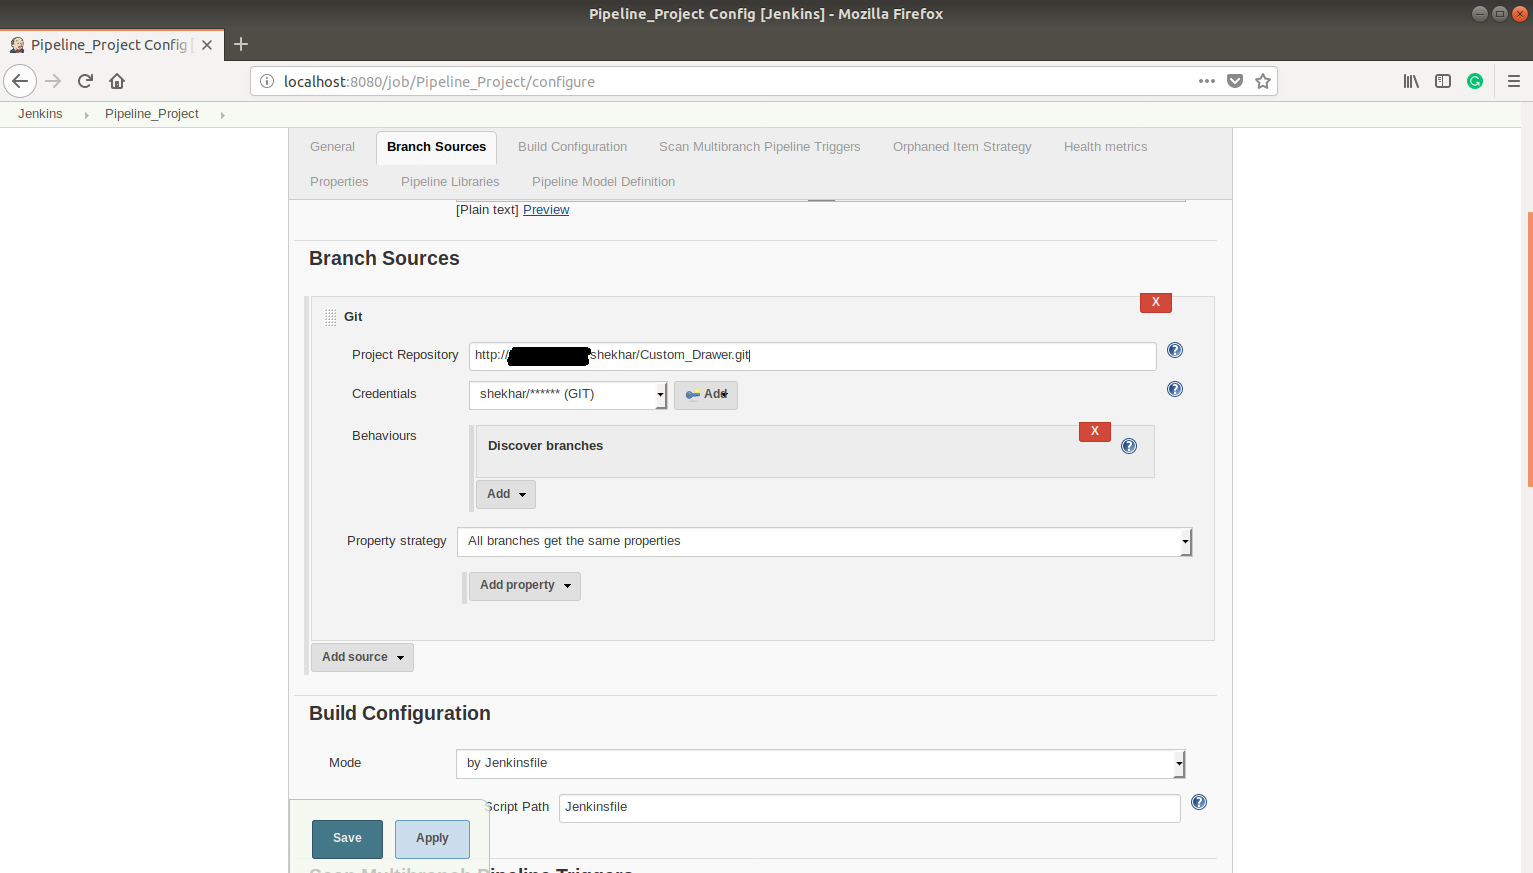
Build Configuration
- Mode: By Jenkinsfile
- Script path: Jenkinsfile ( Relative location within the checkout of your Pipeline script.All your functionality you need to perform while building the application will be scripted in Jenkinsfile)
6. Click on Apply button.
7. Click on Save button.
8. Your Jenkins multibranch pipeline project will be displayed and If your source code is correct then your build will be started automatically.

Note: If the build is not started automatically then start it manually by clicking on Scan Multibranch Pipeline Now.
9. APK will be built automatically for the branch on which commit is done. i.e. master,staging,etc.
e.g. 1. Single branch(master)


e.g. 2. Multiple branches(master and staging)


10. You can check the status of builds on any branch by clicking on the specific branch name.


11. You can see the result of a build i.e. success/failure on the console output.
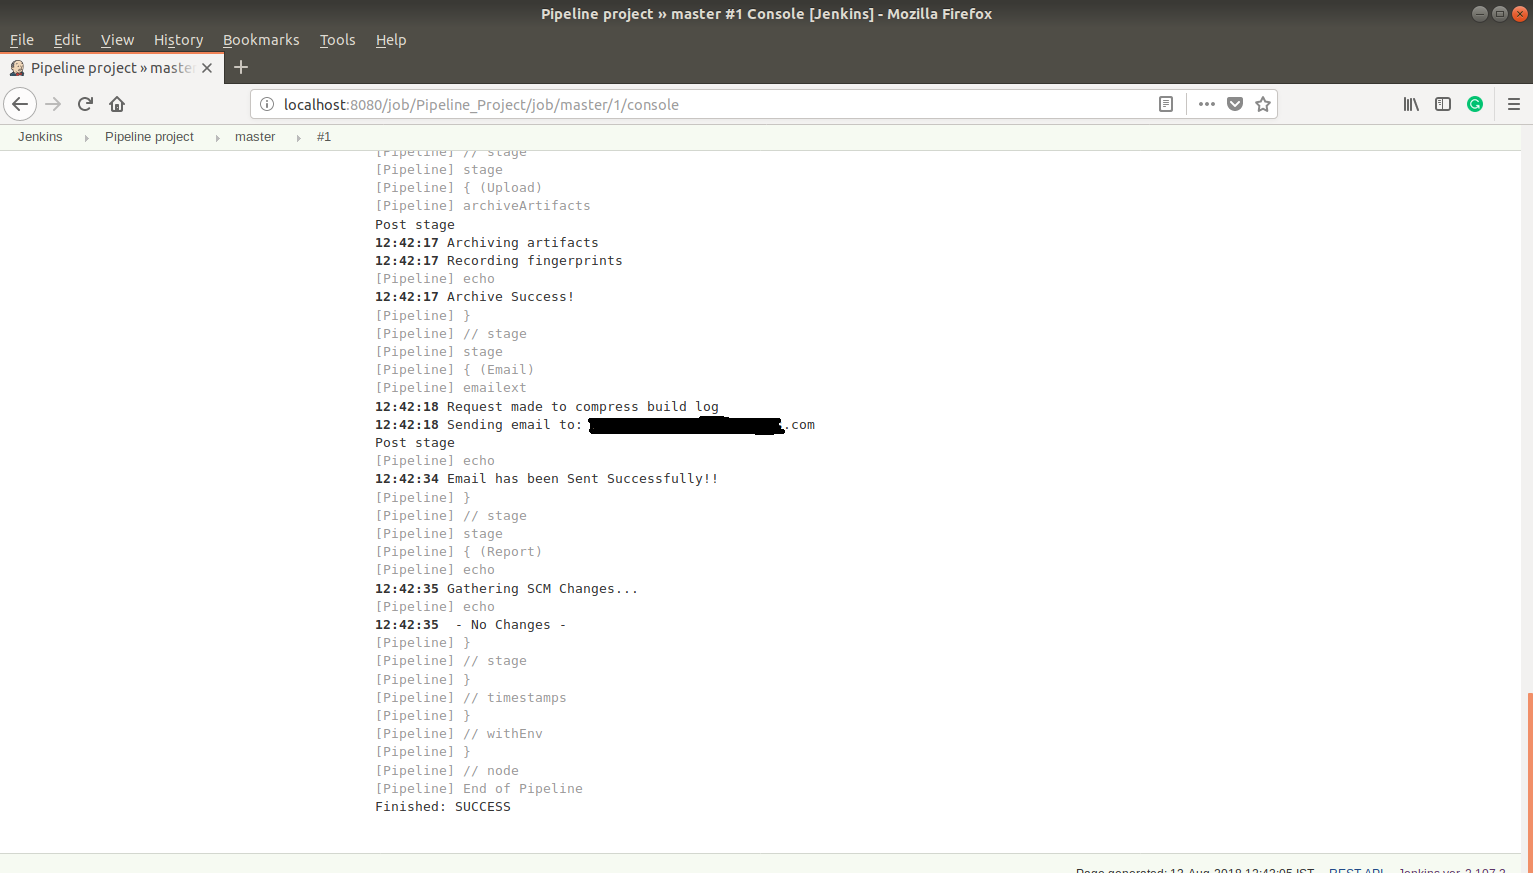
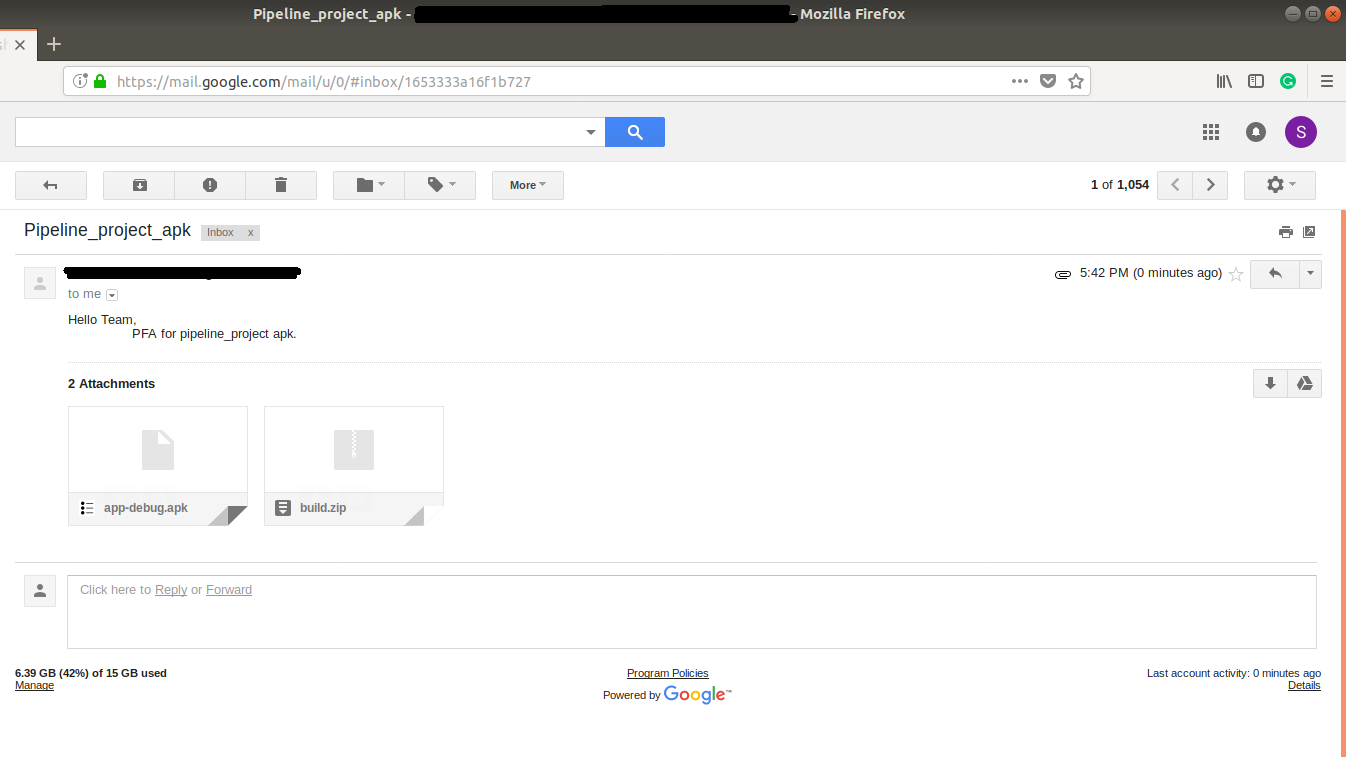
12. You will also receive an email of success/failure builds with generated APK and logs. For that, you have to configure your email id in the Jenkinsfile. You can configure multiple email id’s in the Jenkinsfile.