How to Install Jenkins on Ubuntu?

Installing Jenkins on Ubuntu! This tutorial will take you through the basic steps of installing Jenkins on an Ubuntu. Before we begin, it’s important to know about Jenkins:
What is Jenkins?
Jenkins is a continuous integration automation server, which is an open-source, self-contained and can be used to automate all tasks related to building, testing and deploying or delivering the application.
Pre-requisites:
For installation of Jenkins, following things you’ll need:
1). A machine with:
◦ RAM:256 MB, but more than 512MB is recommended
◦ Drive space: 10 GB minimum
2). The following software must be installed in the machine:
◦ Java JDK 8 (Java Development Kit)
Here are the steps to install Jenkins on a Linux(Ubuntu):
Step – 1: First, add the Jenkins repository key to the system. After adding key, you will get the `OK` status as shown below:
wget -q -O – https://pkg.jenkins.io/debian-stable/jenkins.io.key | sudo apt-key add –

Step – 2: Next, append the Debian package repository address to the server’s sources.list:
echo deb http://pkg.jenkins.io/debian-stable binary/ | sudo tee /etc/apt/sources.list.d/jenkins.list

Step – 3: Now to use new repository, you will need to update the system first and then Install Jenkins by using the following commands:
sudo apt-get update
sudo apt-get install jenkins


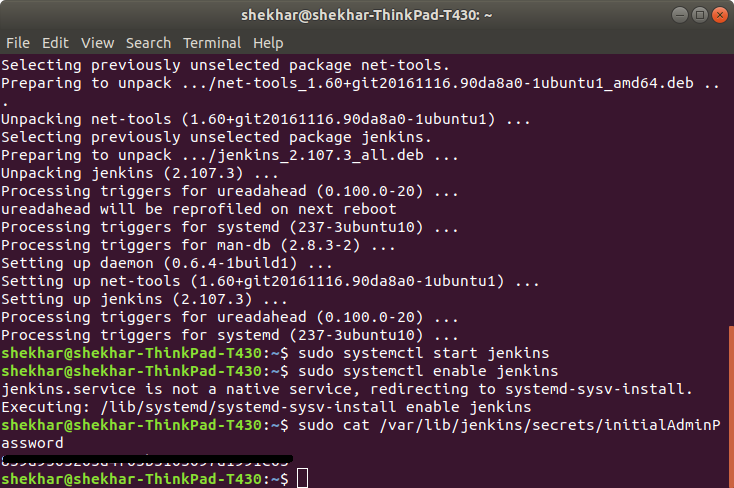
Step – 4: To Start Jenkins use following commands :
sudo systemctl start jenkins
sudo systemctl enable jenkins

Step – 5: To open Jenkins enter the below link in the browser (Jenkins will install on port 8080 by default):
http://localhost:8080/
Note: If Jenkin’s page is not opening, then you need to restart the system.
Step – 6: “Unlock Jenkins” page will display after entering URL and will ask to enter administrator password:

Step – 7: To get the password use the below given command:
sudo cat /var/lib/jenkins/secrets/initialAdminPassword
Step – 8: Copy paste the password in “Administrator password field” and then click on the Continue button.

Step – 9: “Customize Jenkins” option will display. Click on “Select plugins to install” option to get the plugin installed.

Step – 10: Install all the necessary plugins to use Jenkins.


Step – 11: After completion of installation process, Account setup page will open.

Step – 12: You have to enter your valid credentials to create a new account. After filling all the details, click on the “Save and Finish” button.

Step – 13: Once your Jenkins account is created you can use Jenkins by clicking on “Start Using Jenkins” button.

Step – 14: After successful completion of Jenkins setup wizard, you will be redirected to the Jenkins dashboard.

Well, after successful installation of Jenkins on an Ubuntu, it’s mandatory to go through “Settings” to set Jenkins.
Step – 1: Enter Jenkins URL in a browser, the Jenkins login page will open as shown in the image:
http://localhost:8080/

Step – 2: Enter your valid credentials to login in Jenkins.
Username: Your Jenkins account username
Password: Your Jenkins account password
Step – 3: If valid credentials are entered, then Jenkins dashboard will display.
Step – 4: To use Jenkins you need to go through jenkins installation and configuration settings :
4.1 Click on Manage Jenkins
4.2 Click on configure system
-
- Global properties:
- Tool Locations(User need to set the path of git executable file):
- Global properties:
Name: Git Default
Value: usr/bin/git


-
-
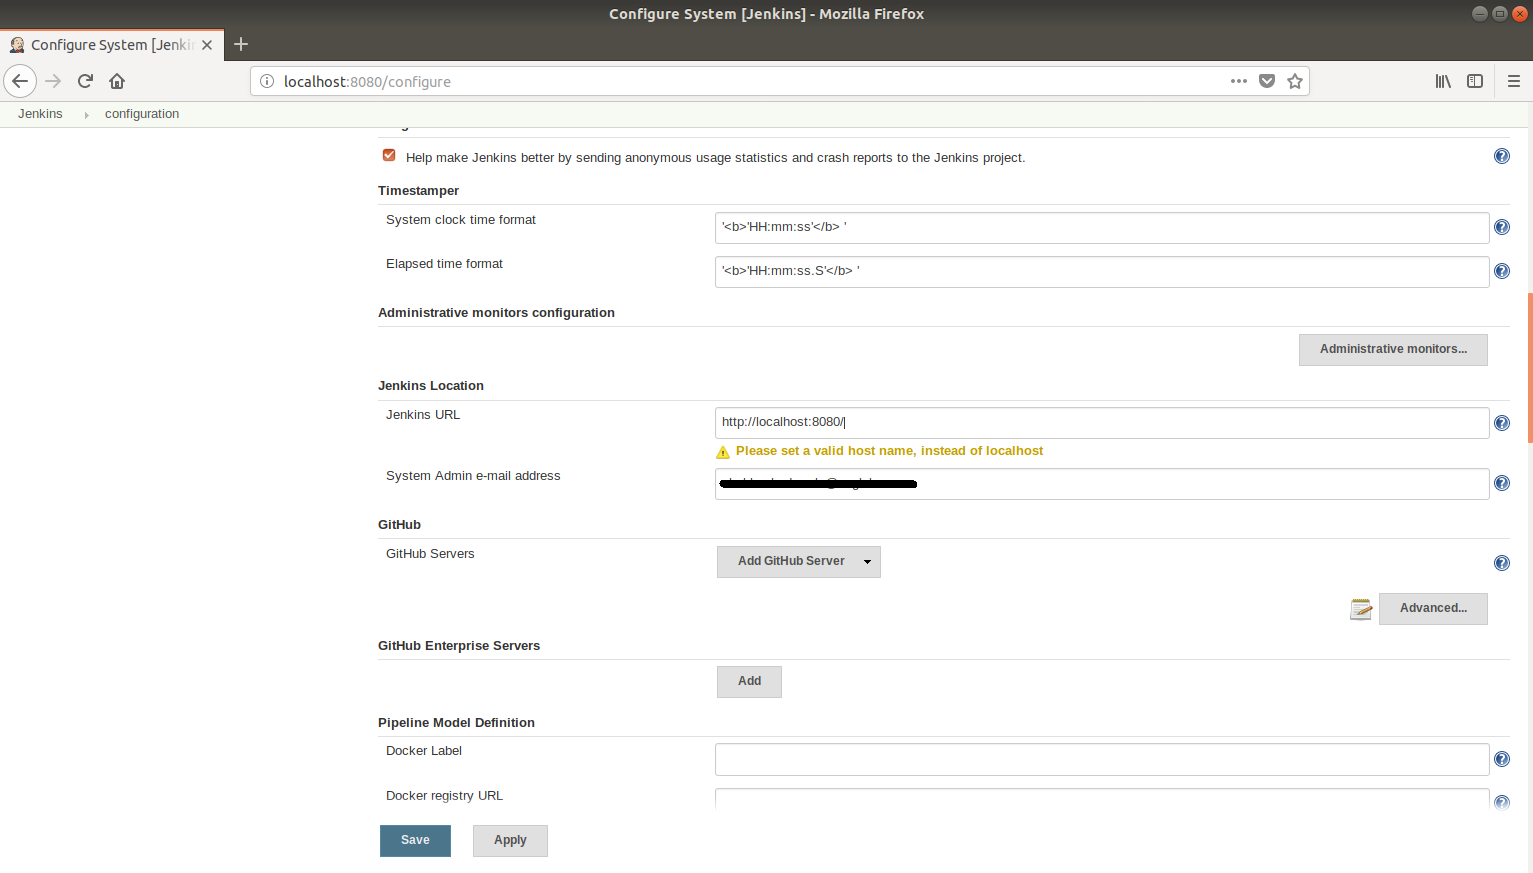
- Jenkins Location:
- Jenkins URL: (It specifies the HTTP address of the Jenkins installation)
- Jenkins Location:
-
By default, its value will be http://localhost:8080/.You can change its name from localhost to other names.
-
-
-
- System Admin e-mail address:
-
-
Notification e-mails from Jenkins to project owners will be sent with this address in the from the header.(Enter Email ID from which you want to send an email)
-
-
- Extended Email Notification->
- Smtp server-> smtp.gmail.com(Name of the mail server.)
- Click on Advanced option
- Use SMTP Authentication->Checked
- Username -> Enter your Gmail Id
- Password -> Enter your Gmail Id Password.
- Use SSL -> Checked
- SMTP -> 465(Port number for the mail server.)
- Charset -> UTF-8
- Default recipients : ( Customize the default recipient list of the email notifications.)
- Extended Email Notification->
-
e.g. 1. [email protected]
2. cc:[email protected]
3. bcc:[email protected]

Note: You have to log in to your Gmail account from which you are sending the email notification.
-
-
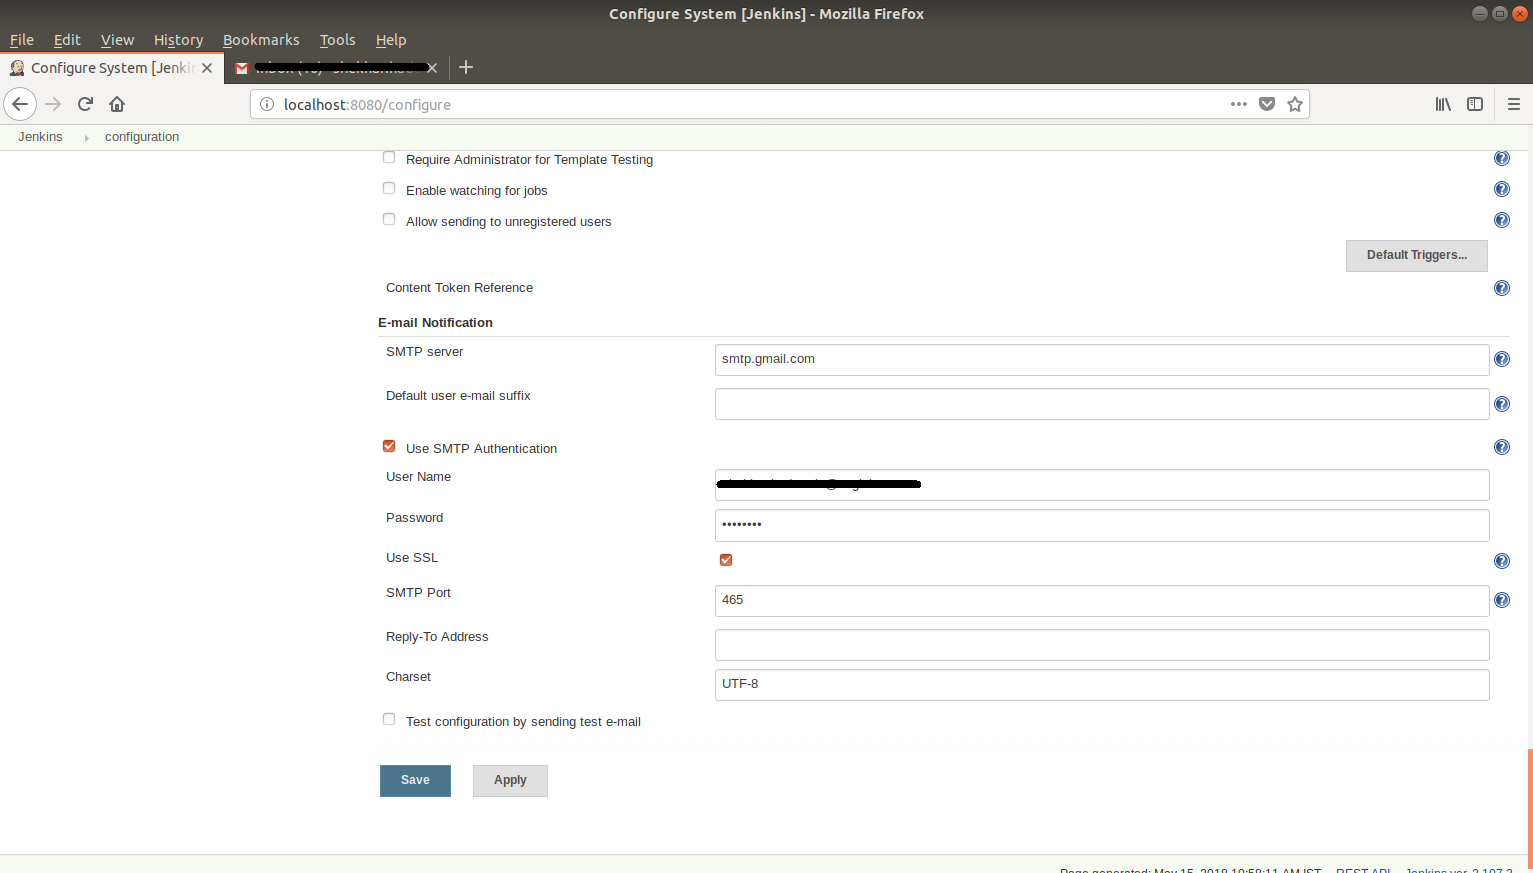
- Email Notification:
- Smtp server-> smtp.gmail.com
- Click on Advanced option
- Use SMTP Authentication-> Checked
- Username -> Enter your Gmail Id
- Password -> Enter your Gmail Id Password.
- Use SSL -> Checked
- SMTP -> 465(Port number for the mail server.)
- Charset -> UTF-8
- Email Notification:
-
4.3 Click on Apply button.
4.4 Click on the Save button.
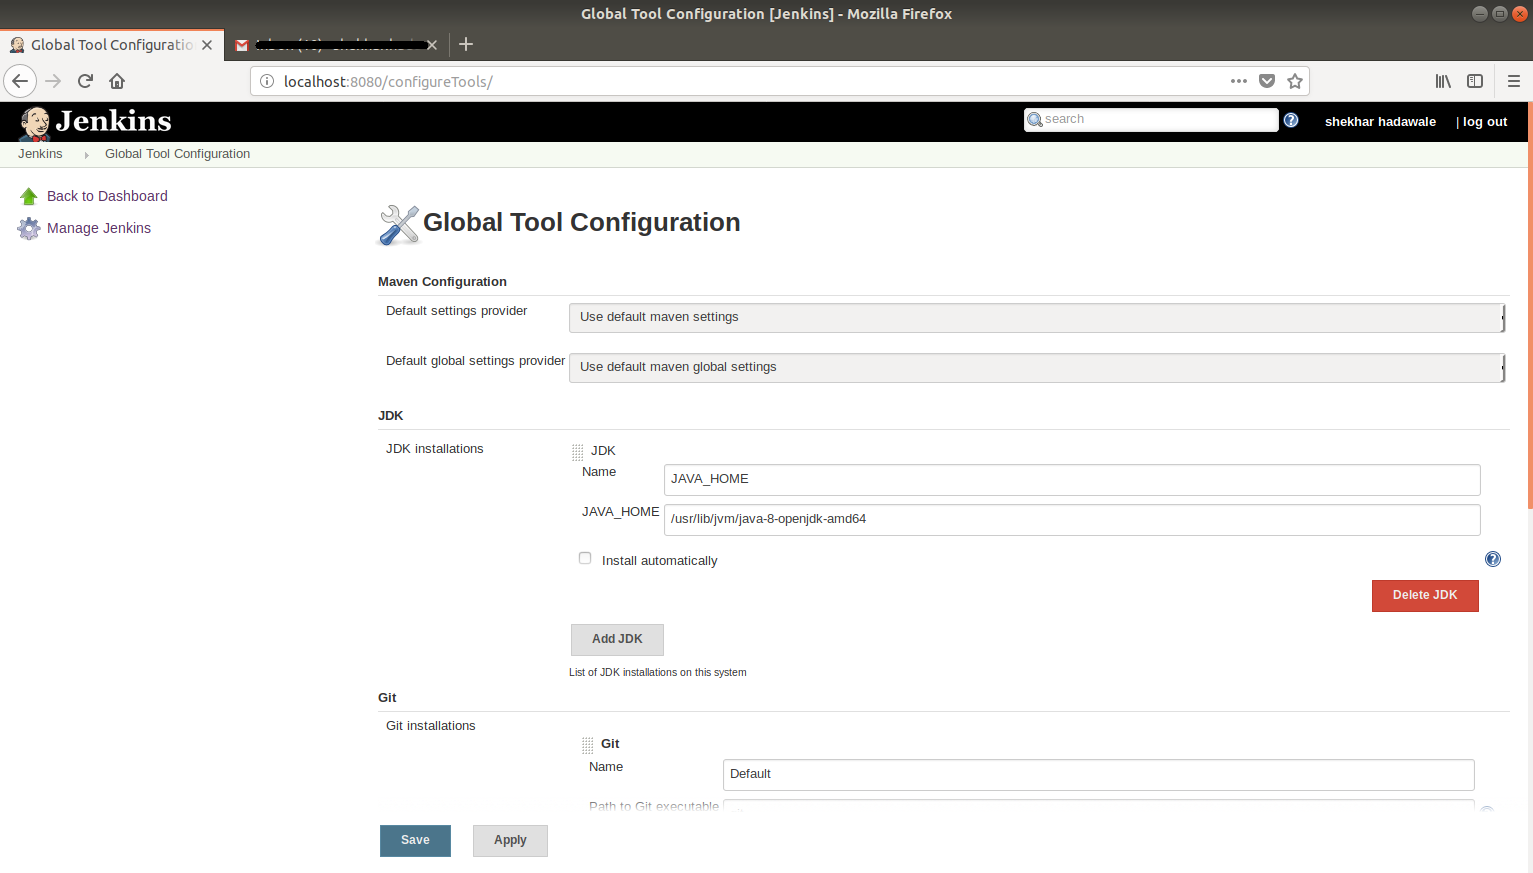
5. To use Jenkins you need to configure some Global Tool Configuration setting –
5.1 Click on Manage Jenkins
5.2 Click on Global Tool configuration
-
- JDK :(Set the Path of your Java JDK according to your project)
- Click on Add JDK
- You can enter JDK path manually : (Set the path where your Java JDK is placed)
- JDK :(Set the Path of your Java JDK according to your project)
Name: JAVA_HOME
JAVA_HOME: /usr/lib/jvm/java-8-openjdk-amd64
Note: You can also Install JDK automatically by click on “Install automatically” checkbox
-
- Git :( Set the path to git executable. This can be just “git” or complete path.)
Name: Default
The path to Git exe: git

5.3 Click on Apply button
5.4 Click on Save button